Computer Graphics Final Project
Techniques + Tools Used:
- Fragment + Vertex Shaders
- Ambient + Diffuse + Specular Lighting
- HLSL + Shaderlab + C#
- Unity Game Engine
Lighting

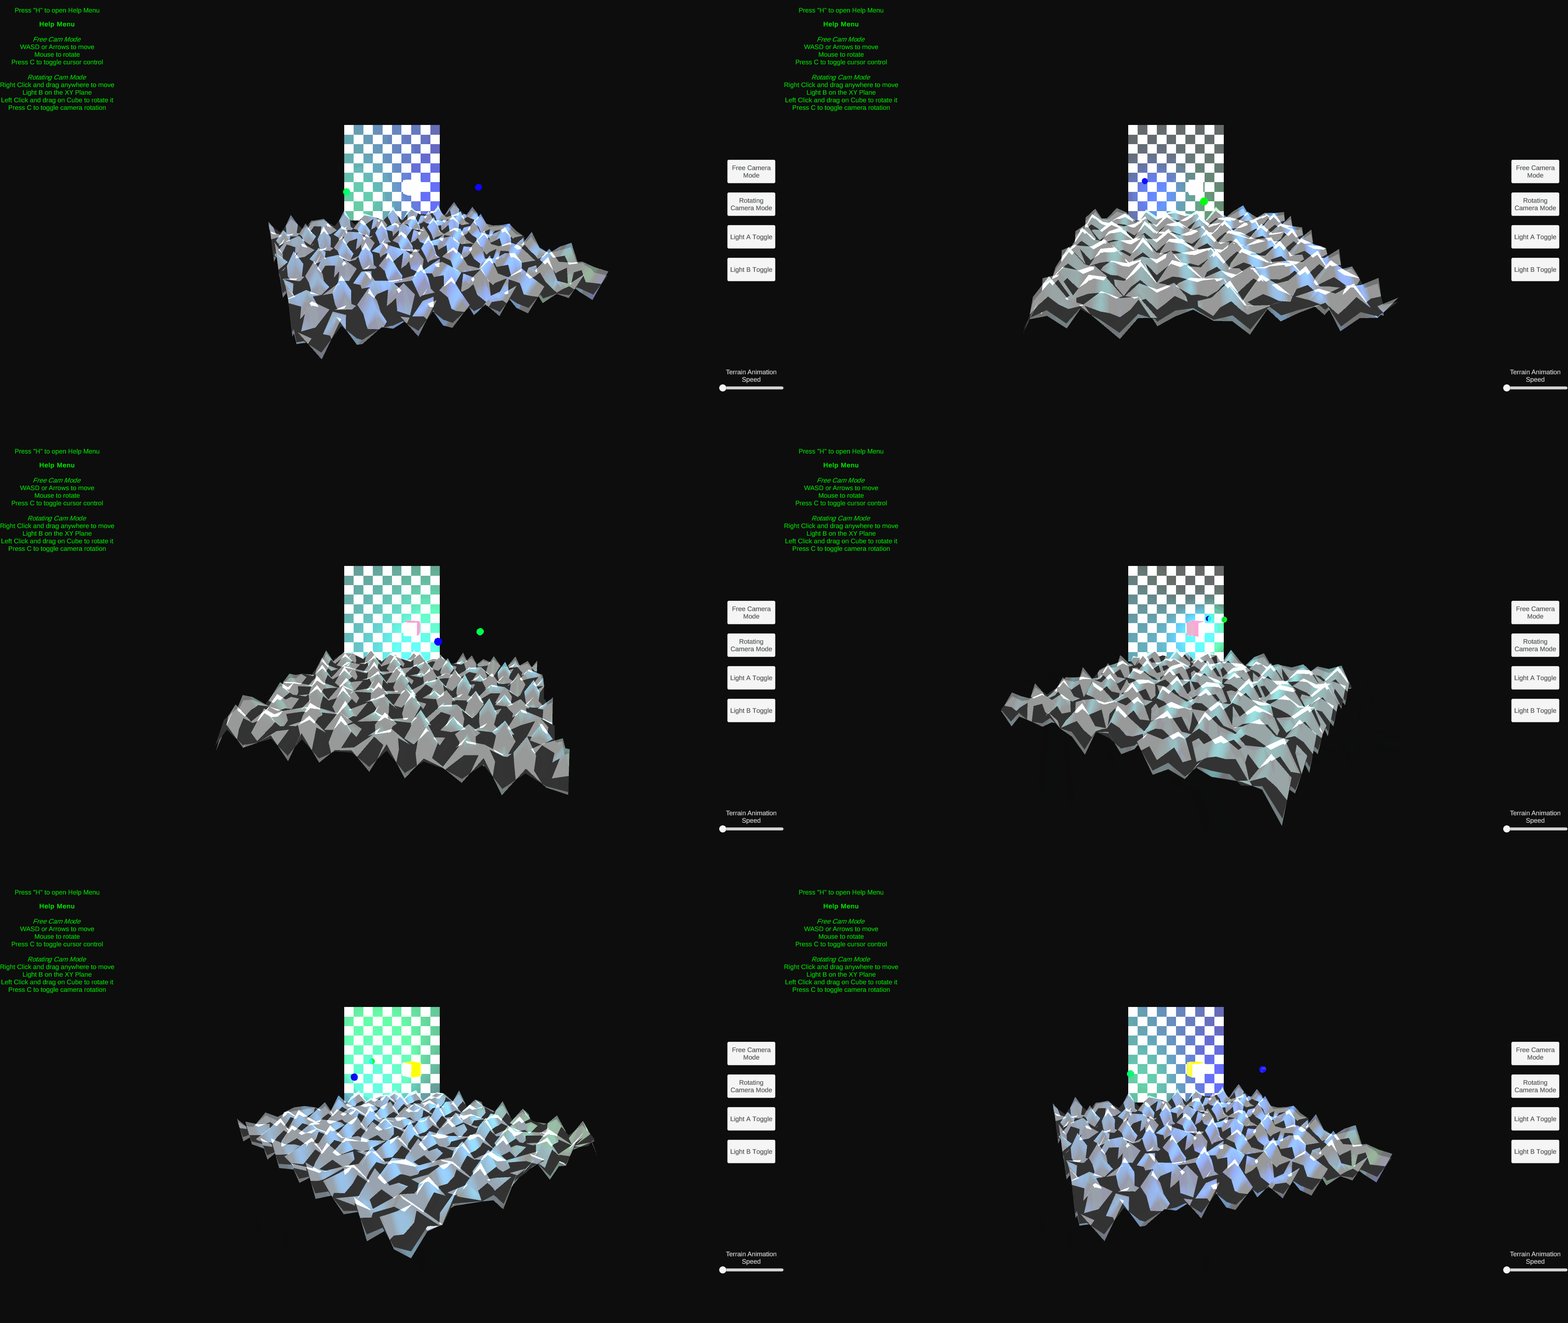
Ambient Lighting (No Lights)


Single Light On (Diffuse + Specular)
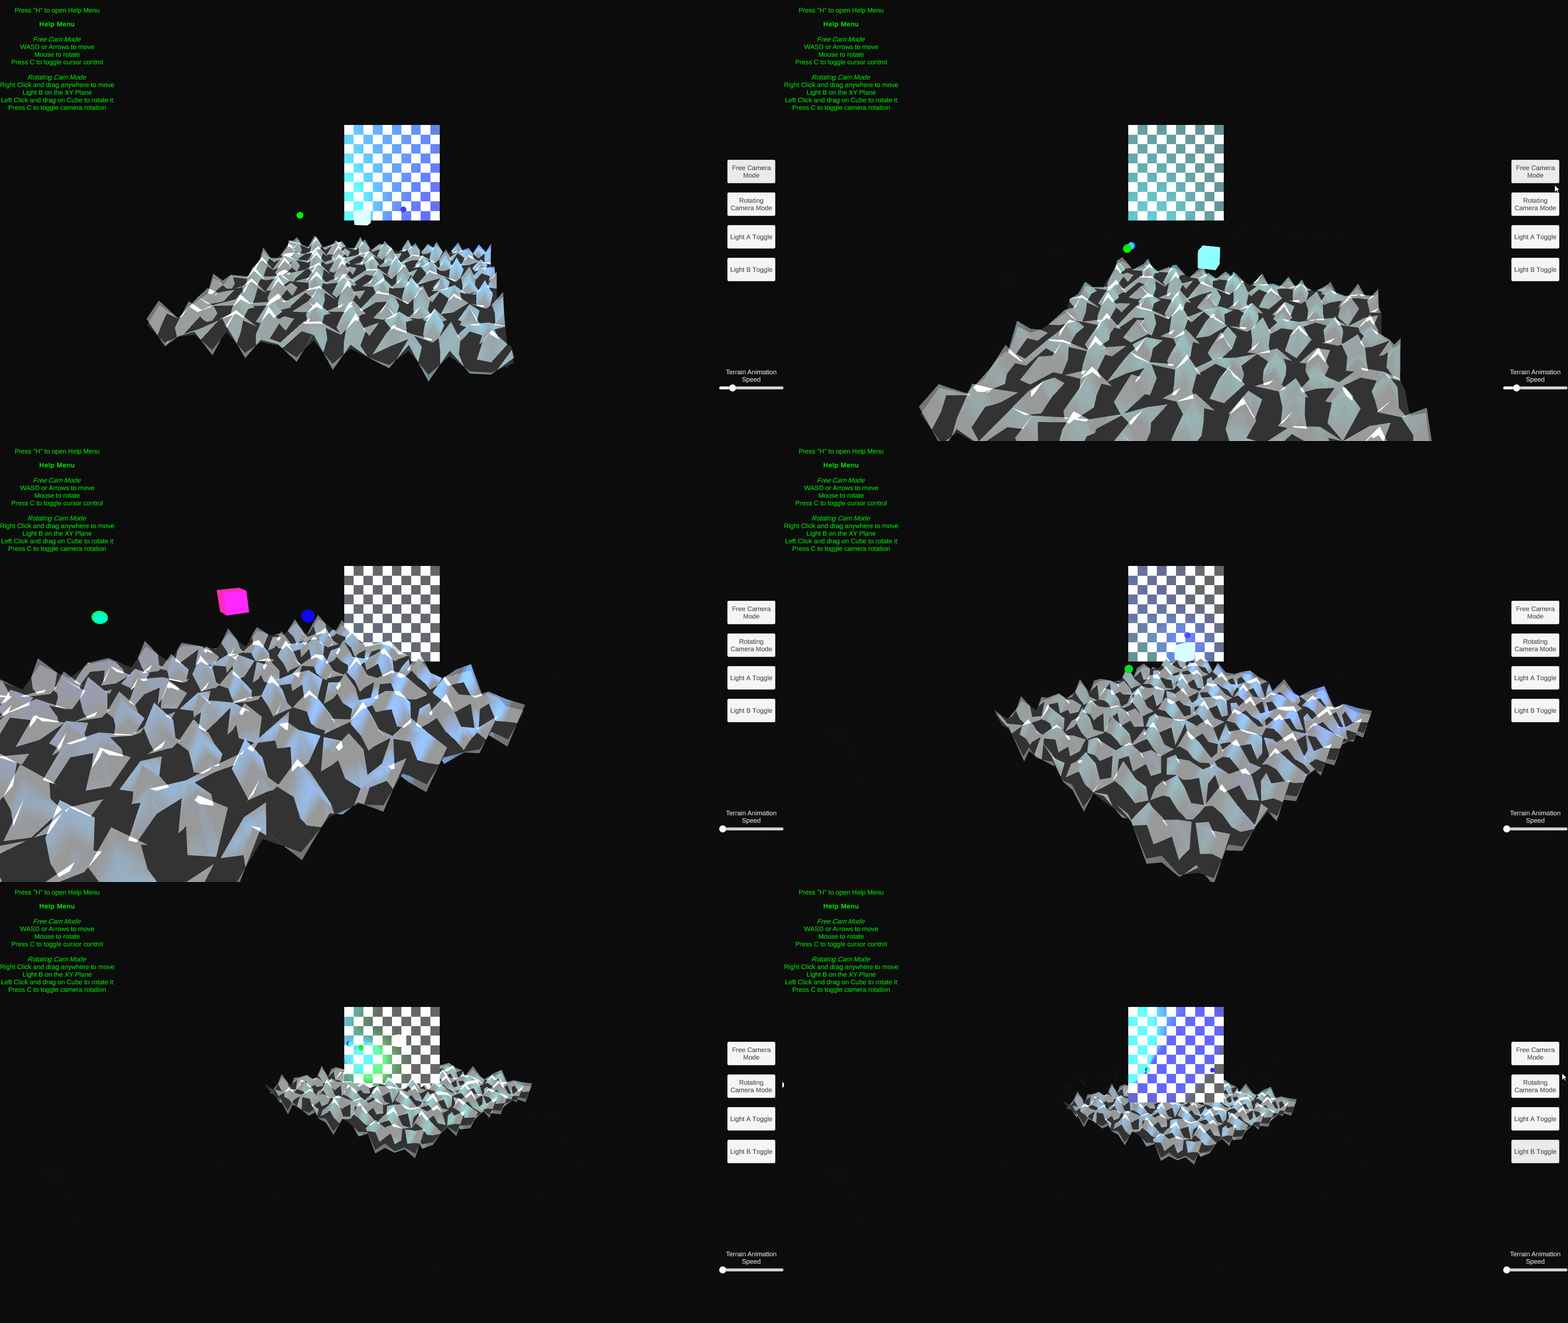
Basic Lighting — Ambient + Diffuse + Specular — is mainly calculated in the Fragment shader. In the Vertex shader, using Unity’s built-in shader functions, I convert the vertex data to Clip Space. Once converted, attenuation and direction of light can be calculated. The world space position and color of the light is passed into the material through a C# script. The color per fragment is multiplied by the attenuation value. Then, using the direction of the light, we calculate the Diffuse lighting, which is the clamped dot product of the fragment’s normal and the light direction (clamping the dot product prevents the value from going below 0, which is already pure black/no light). Next, I can calculate the Specular highlight. The specular highlight is affected by the view direction of the camera. This is a predefined variable in Unity shaders, so we grab that, and calculate the view direction of the object from the camera. Then we reflect the light direction using the normal of the fragment to get the direction of the specular highlight. After, we modify the specular intensity by multiplying a metallic value set on the material as well as a tint color to the power of the dot product of the camera view direction and the specular reflection direction. Finally, the Ambient light is simply the Main Color of the object, which is passed in through a C# script. All three lighting lighting calculations are then combined to provide the standard basic game engine lighting.

Both Lights On (Diffuse + Specular)


Vertex Displacement
To generate the random wave pattern, I make a copy of the current position of the vertex, then generate two arbitrary vectors with it. Using these vectors, I generate a noise for the X and Z directions, then apply a stack of sin waves to the copy of the original vertex to modify the Y value. I then apply all the effects calculated to the arbitrary vectors again through a sin function, and provide minor smoothing for the Y value.
After generating the displaced vertex through copying and randomizing its position, I must calculate the corrected normal to pass to the fragment so the lighting can be applied properly. I do this by performing the cross product of the arbitrary vectors minus the copy of the original. I then apply the corrected normal the actual original vertex and calculate the Clip Space position to pass over to the fragment shader.
Texture Mapping


By applying a basic floor function to the UV in the Fragment shader, a checkboard pattern is mapped onto the material/object. Alongside the basic lighting calculations, this creates a fun effect that moves with the camera.